The Simple Way to Set Up HubSpot Tracking on Your WordPress Website
Stop struggling with embed codes and theme edits. ToolPress makes adding HubSpot Tracking to your WordPress site as simple as clicking a button. No coding required, no theme files to edit, no developer needed.

Compatible with all themes.
Why Choose ToolPress for HubSpot Tracking?
5-Minute Setup
From installation to tracking leads – in less time than it takes to make coffee. Simply install ToolPress, enter your HubSpot Tracking ID, and publish. That’s it.
Zero Coding Required
Forget about editing theme files or fumbling with JavaScript snippets. ToolPress handles all the technical implementation automatically, exactly as HubSpot recommends.
100% Compliant
ToolPress follows HubSpot’s official integration guidelines:
- Async loading for optimal performance
- Proper script initialization
- Secure variable storage
- No tracking delays or data loss
Smart Conditional Loading
Target specific pages, exclude admin pages, filter by user role, or set device-based rules. Only show on pages what truly matters.
Performance Optimized
Asynchronous script loading, minimal overhead (< 0.01s load time), and high-priority injection ensures no impact on your Core Web Vitals.
Enterprise Security
Built with WordPress best practices, including sanitized inputs, capability checks, and secure variable storage.
Perfect For
Marketing Teams
Track leads, conversions, and user behavior with ease. Integrate HubSpot forms, chat, and analytics.
E-commerce Stores
Track sales, abandoned carts, and customer journeys. Perfect for WooCommerce and Easy Digital Downloads.
Agencies
Deploy HubSpot Tracking across multiple client sites in minutes. Use variables for easy environment switching.
Business Owners
Understand your visitors and grow your business with actionable insights.
SaaS Companies
Onboard new users, track feature adoption, and reduce support tickets with real-time analytics and chat integration.
How It Works
1
Install ToolPress
Download from WordPress.org or install directly from your admin dashboard.
2
Add Your HubSpot Tracking
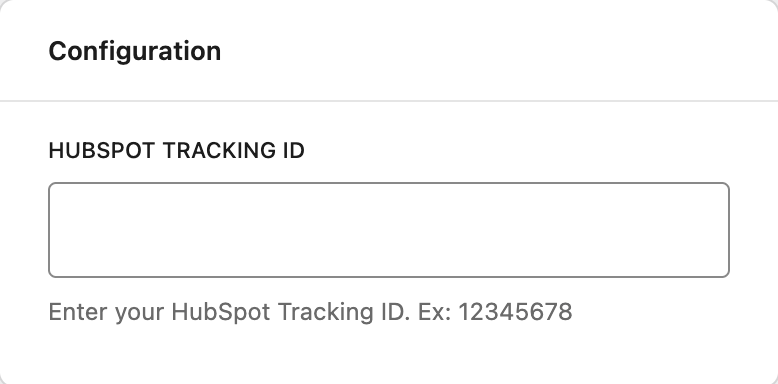
Navigate to ToolPress → Tools → Add New Tool, select “HubSpot Tracking,” and enter your Tracking ID.
3
Set Your Rules (Optional)
Choose where and when HubSpot should load. Or leave it at defaults to track everything.
4
Publish & Track
Click publish and you’re done. Your HubSpot Tracking is now live and collecting data.
Compare: Before & After ToolPress
Before ToolPress
- Edit theme files manually
- Break site with one wrong character
- Lose changes on theme updates
- No control over where HubSpot loads
- Need a developer for changes
- Risk security vulnerabilities
With ToolPress
- Click-based setup in admin dashboard
- Zero risk of breaking your site
- Updates don’t affect your tracking
- Precise control with conditions
- Make changes instantly yourself
- Enterprise-grade security built-in
- Validation ensures correctness
Frequently Asked Questions
Do I need coding skills?
No! ToolPress is designed for non-technical users. If you can copy and paste your HubSpot Tracking ID, you can use ToolPress.
Will this slow down my site?
Absolutely not. HubSpot loads asynchronously and ToolPress adds virtually zero overhead. Your site speed won’t be affected.
Can I use this with other tracking plugins?
Yes! ToolPress works alongside Google Tag Manager, Google Analytics, and other tracking plugins without conflicts.
What if my theme updates?
Perfect question! Unlike manual code edits, ToolPress doesn’t modify your theme files. Updates won’t affect your tracking.
Does it work with WooCommerce?
Absolutely. ToolPress is fully compatible with WooCommerce and other e-commerce plugins.
Do you offer support?
Yes! Free users get community support via WordPress.org. Pro users get priority email support.
Get Started Today
Ready to simplify your HubSpot Tracking integration?


